
Have you ever wanted to make an offset smoker at home? It can seem like a daunting task but with the right tools and materials, you can make a great-tasting smoker at home. In this step-by-step guide, we’ll show you how to build an offset smoker that will let you produce some delicious smoked meats and vegetables.
Building your DIY offset smoker can be cost-effective and satisfactory at the same time. But it can be an overwhelming process if you are doing it for the first time. From selecting the right materials to the finishing touches, we’ll take you through the entire process of building your offset smoker. So let’s get started and learn how to build an offset smoker!
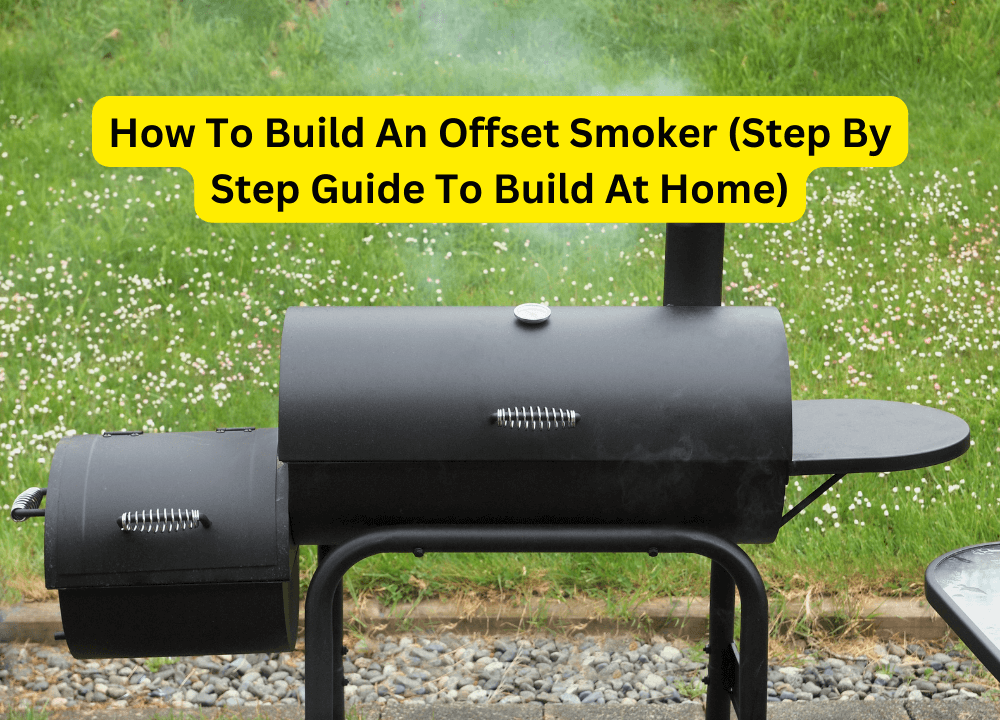
How to Build an Offset Smoker?
When it comes to buying a smoker, there are countless options available in the market which makes it difficult to choose the right one. For this reason, many people prefer to build their own smoker at home because it is relatively inexpensive and customized.
Building your offset smoker is not a complex process and doesn’t take a lot of time, money, and expertise. All you need is the right tools and guidelines to build your offset smoker at home. Here is the complete guide that will help you walk through the entire building process of a DIY offset smoker.
1. Choose the Right Tools and Supplies
If you are looking to build a DIY offset smoker, firstly make sure you have all the necessary tools and supplies that are required during the process. A conventional offset smoker consists of three main components that are a frame, a smoking chamber, and a firebox basket.
The purpose of the smoking chamber is to cook food while the firebox basket contains coals that ensure better airflow throughout the smoker. Both the smoking chamber and the firebox are attached in such a way that the food doesn’t come in direct contact with the heat. The firebox smokes the food indirectly and prevents it from burning while the smoking frame provides support and stability.
Therefore, the first thing you need to make sure of is that you have a barrel or a high-quality sheet of steel to build the smoking chamber and the firebox. If you are planning to utilize any barrel then make sure it doesn’t contain any hazardous chemicals that can interact with your food while smoking.
On the contrary, if you are using a sheet of steel then make sure it is of good quality and doesn’t get damaged during burning which can lead to heat loss during smoking. These are some factors that you need to consider before making a DIY smoker otherwise you will only waste your time, money, and resources.
When it comes to a DIY smoker, the steel sheet should be at least 50 inches to make a cylinder that is large enough to place large wood logs in it to generate smoke. Besides these components, you also need a welder to tether all the sections together.
There are a variety of welders available in the market but you need to make sure you choose the right one that doesn’t damage the frame of your smoker. Next, you need an angle grinder in your tools to build a DIY offset smoker though it is not much needed in the building process.
But you need it to cut and mold the corners of your smoking frame to make sure whether it fits the smoker or not. Next you need a Sabre or a chop saw in your supplies. But you have to use it carefully because the risk of damaging the build of your smoker and yourself is higher with a saw especially when you don’t have any technical expertise.
2. Building the Frame
After the tools, the next thing you need to do is to build the smoker frame. The smoking frame is a crucial component of the smoker and provides it support and stability. Behind every good smoker is a solid frame which makes it more reliable and long-lasting.
If you are planning to make your offset smoker then it is better to adjust the frame according to your height. It will prevent you from bending over constantly especially when you are cooking for hours. Most best-designed DIY offset smokers are designed relative to the height of the pit master to prevent unnecessary strain on the back muscles.
While designing an offset smoker, always keep in mind that the main chamber should be at the waist height of the pit master. There are a variety of smokers that are commercially available such as charcoal smokers, electric smokers, pellet smokers, propane or gas smokers, vertical smokers, and kamado smokers.
The materials that are used in the making of the smoker frame vary greatly depending on your choice. For an offset smoker, some people prefer steel sheets because it’s highly durable while others use wood because it’s aesthetically pleasing. But it is better to use steel rather than wood because steel reduces the risk of damage to your smoker.
The next factor you need to consider while making a frame is its thickness. The thickness of the frame depends on its weight and make sure it’s strong enough to withstand the weight of your offset smoker.
When it comes to a DIY offset smoker, a 1-inch thickness is fair enough to provide stability to your smoker. After that, you will need an angle grinder to trim your frame according to your requirements. If your frame is built of steel then you can easily attach the sections with the help of a welder.
3. Main Body of the Smoker
After making the frame, now it’s time to build the main body of your smoker. For this, you will need two barrels or a large steel sheet to make both sections of your offset smoker. If you are using barrels instead of a steel sheet then make sure these barrels are not damaged or don’t contain any harmful chemicals that can interact with your food.
While making the firebox, always keep in mind that it must be smaller than the smoking chamber to heat up quickly. If you are using a large barrel then consider cutting it from the center to reduce its height.
Now it’s time to cut the doors of your smoking chamber and the firebox. The main purpose of the door in the smoking chamber is to place food into the smoker and in the firebox is to add fuel in it. But always keep the door of the smoking chamber bigger than that of the firebox.
Moreover, the door of the cooking chamber should be round to minimize the risk of injury to the pit master while removing food or adding fuel to the smoker. While cutting or trimming the corner, always make sure you don’t damage the build of your smoker which will result in heat loss.
4. Attach All the Sections
Once you are done with the frame and body of your smoker, it’s time to attach all these sections. If you have built a smoker using two separate barrels i.e. one for the smoking chamber and one for the firebox then use a welder to connect them. Make sure you don’t leave any gaps between the barrels otherwise; it will result in heat loss during smoking.
While building your DIY smoker, organize your barrels in such a way that the uppermost part of your firebox barrel is attached to the side of the bottom of the cooking chamber barrel. Then mark those spots where the firebox barrel comes in contact with the cooking chamber and cut out those portions. Now it’s time to attach those sections and weld them.
In an offset smoker, the food never comes in direct contact with the coals and is heated indirectly. The smoke produced during the cooking passes to the smoking chamber through the firebox and exits the smoker through the air vents.
5. Making of Chimneys
One of the most crucial components of an offset smoker is the air vents or chimneys. Air vents also known as exhaust dampers play a significant role in the airflow management and ventilation of the smoker.
Generally, an offset smoker consists of two air vents, one at the top of the cooking chamber to remove the smoke whereas the other at the bottom of the firebox to let in the oxygen into the chamber. But make sure the smoking chamber air vent is above the grate for a better flow of smoke and heat.
6. Adding Cooking Grates
Now you are almost there, it’s time to add the cooking grates that are used to suspend meat in the smoker. Most cooking grates are made of cast iron or stainless steel to withstand high temperatures while cooking.
Besides this, it allows an even heat distribution throughout the smoker and prevents the food from burning. Most people prefer cast iron grates because it is highly durable and is covered with a layer of ash to retain heat.
Always make sure the cooking grates are large enough to fit the size of your smoker. You also need hangers to hold the smoking grates in place but make sure it is detachable. Besides this, you also need to attach some vertical hooks in your smoking chamber to grill meat vertically.
The Bottom Line
In conclusion, building your offset smoker is more durable and cost-effective. All you need is some materials and supplies which we have mentioned above. A DIY offset smoker is made up of good quality materials and can stand the test of time as compared to cheap smokers.
Moreover, if you build your offset smoker then always keep in mind the insulation and portability of your smoker. Good insulation protects your smoker from harsh environmental conditions such as cold weather or wind.
For outdoor smoking, you need to move your offset smoker around your backyard therefore it should be portable. In this guide, you have learned how to build an offset smoker at home with minimal tools and supplies.